
August 13, 2025
WordPress is known for its flexibility. However, as the saying goes, with great power comes great responsibility. In a traditional build, you’re often responsible for stitching together templates while maintaining consistent layouts and preventing content editors from accidentally breaking the design.
The ACF Flexible Content field changes that and lets you create truly custom page layouts in WordPress without touching the design editor. You define reusable layouts, and your team can add, reorder, and remove them from a simple, block‑style editor.
In this article, we’ll explain what an ACF Flexible Content field is and how it works. We’ll show you how to use it to design your website with full control over structure and content, without adding extra complexity for your editors.
The ACF Flexible Content field is a feature included in Advanced Custom Fields (ACF) Pro that acts as a layout builder. It lets you create reusable “layouts” such as a hero banner, an image gallery, or a two-column text section by grouping together various subfields.
This creates a simple and intuitive experience for your content editors where they can add, reorder, and combine these pre-defined layouts to build dynamic pages, all without needing a page builder or touching a line of code.
This approach gives them creative freedom while ensuring the final design always remains consistent and on-brand, because you’ve already defined the structure of each block.
As the ACF Flexible Content Field is so adaptable, you can use it in many different situations. Here are some of the common use cases to give you a better idea of how it is applied in web development.
Your website might include a homepage, an About Us page, or a product features page. These pages are made up of different sections, like a hero banner, a grid of features, a testimonial slider, and a call-to-action.
The Flexible Content field is perfect for this. You can create a separate layout for each of those sections and style them once using your preferred page builder. Your content editors can then add the sections they need, arrange them in any order, and create a completely custom page.
Marketing teams often need to create unique landing pages for new campaigns, and they need to do it quickly. With a Flexible Content field, you can allow them to build these pages on their own.
They can use a library of ready-to-use layouts, like a lead capture form, an FAQ section, a pricing table, or a video embed to assemble a new landing page in minutes, all without needing a developer for every small change.
Now, let’s walk through a practical example. We’ll create a dynamic landing page using the Flexible Content field to manage different sections. While you can always display ACF data with custom PHP, we’re going to use an easy method to keep things simple.
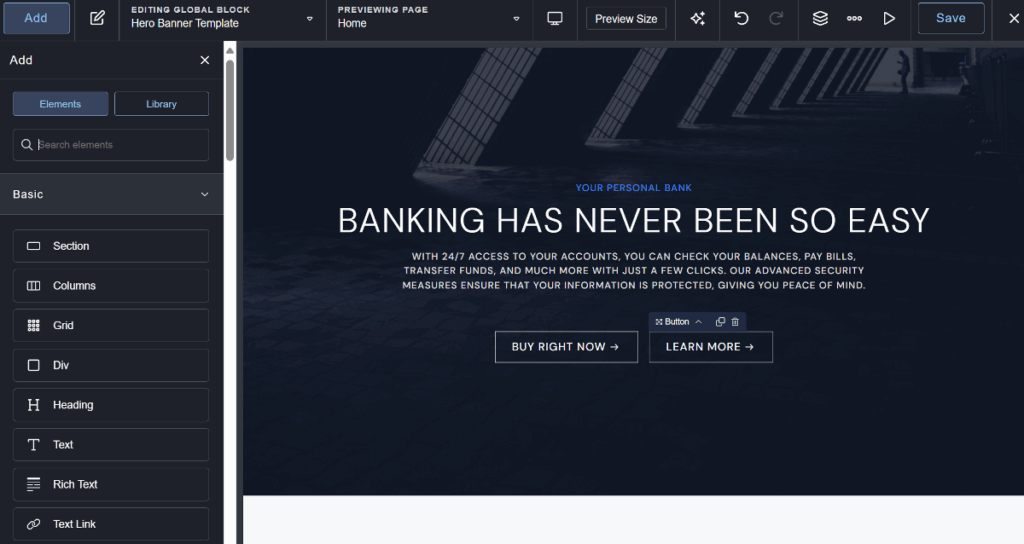
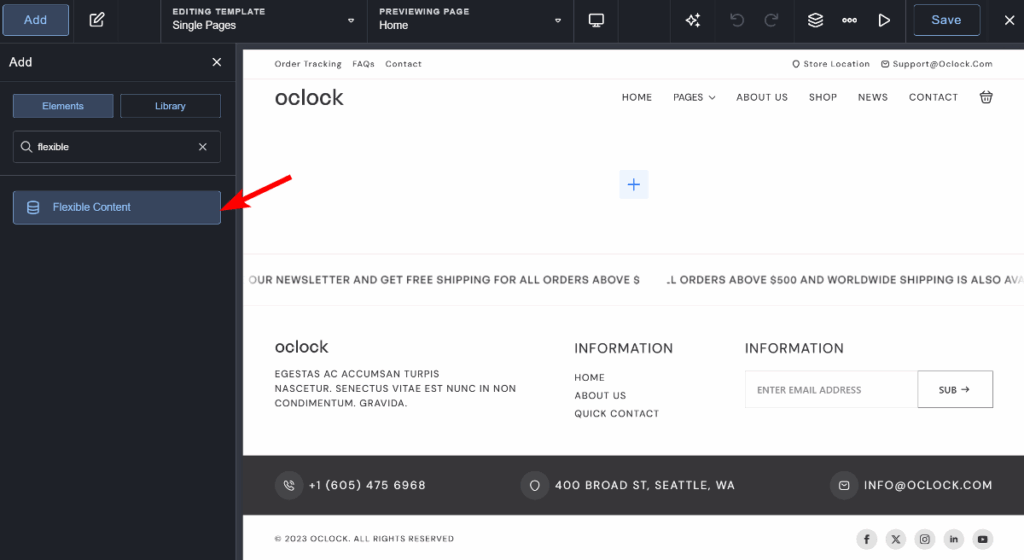
For this guide, we’ll use the Breakdance website builder, which offers deep, native integration with ACF. Breakdance is an excellent choice as it includes a dedicated Flexible Content element. This lets you visually connect your ACF layouts to designs you create in the builder without writing a single line of code.
If you prefer a video format, this YouTube video covers the same.
To get started, let’s quickly cover what you’ll need.
Before we start, make sure you have the right plugins installed and activated on your WordPress site.
You’ll only need two plugins for this walkthrough:
Once you have both plugins ready, you can proceed to the first step.
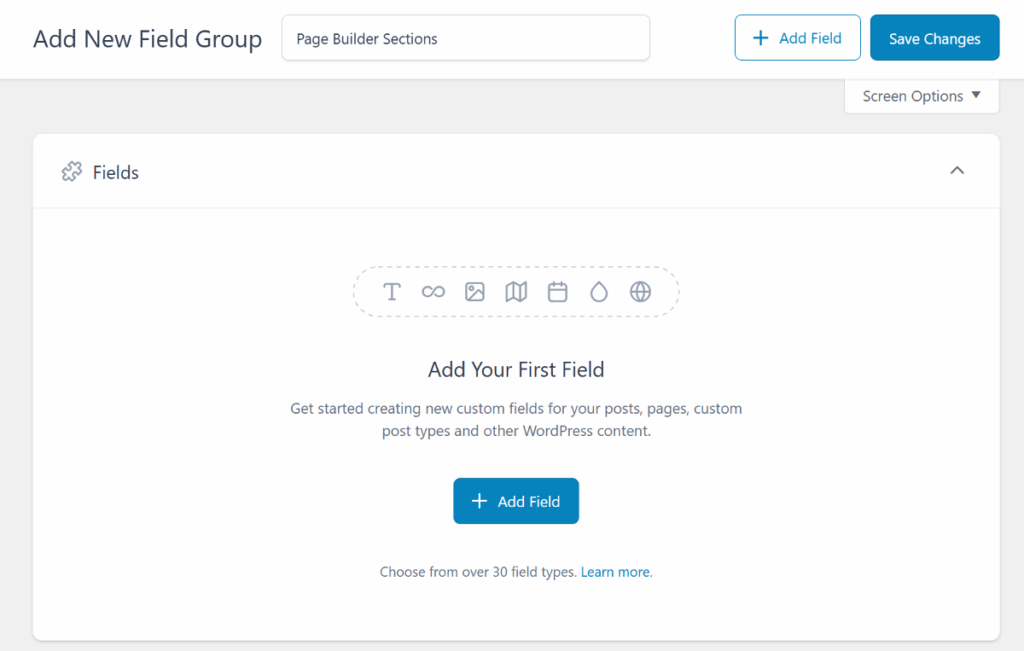
First, we need to set up the backend structure in ACF. This is where we’ll define the different content blocks, or layouts, that our content editors will use.

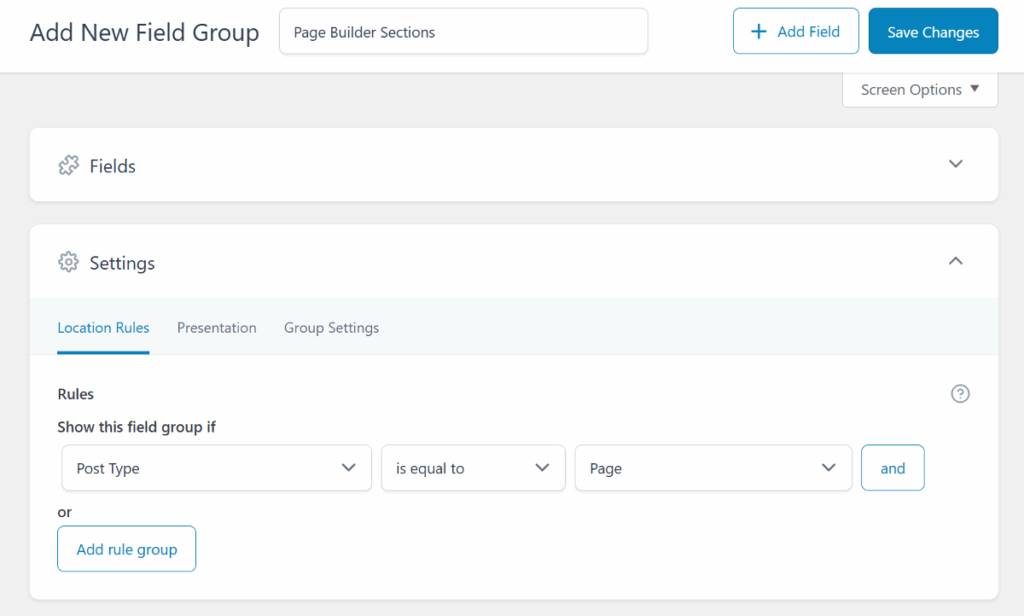
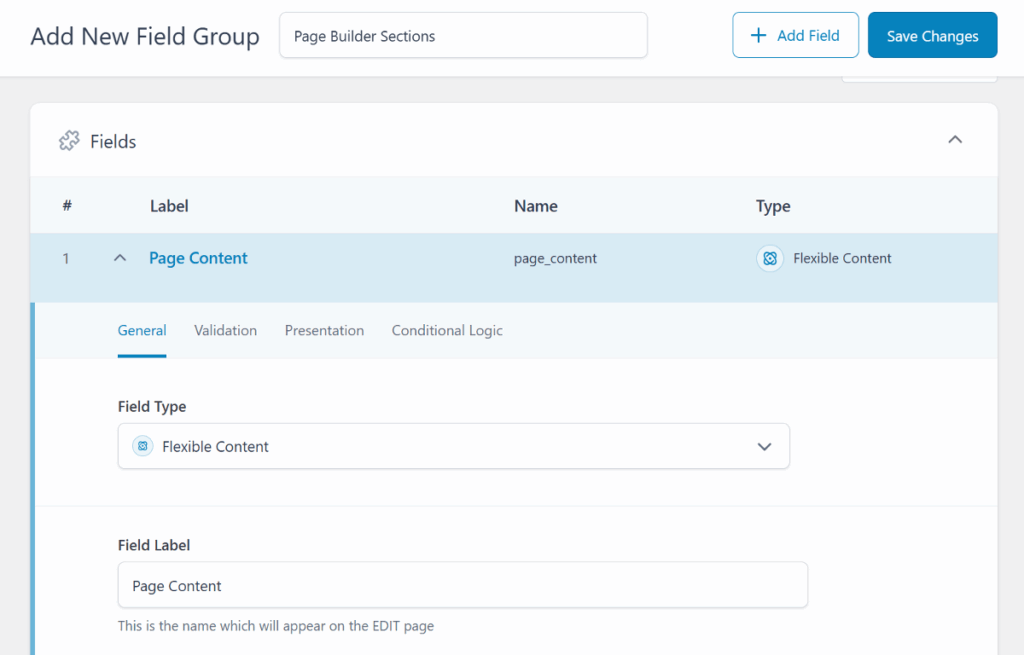
Next, we’ll configure this field to be a Flexible Content field.
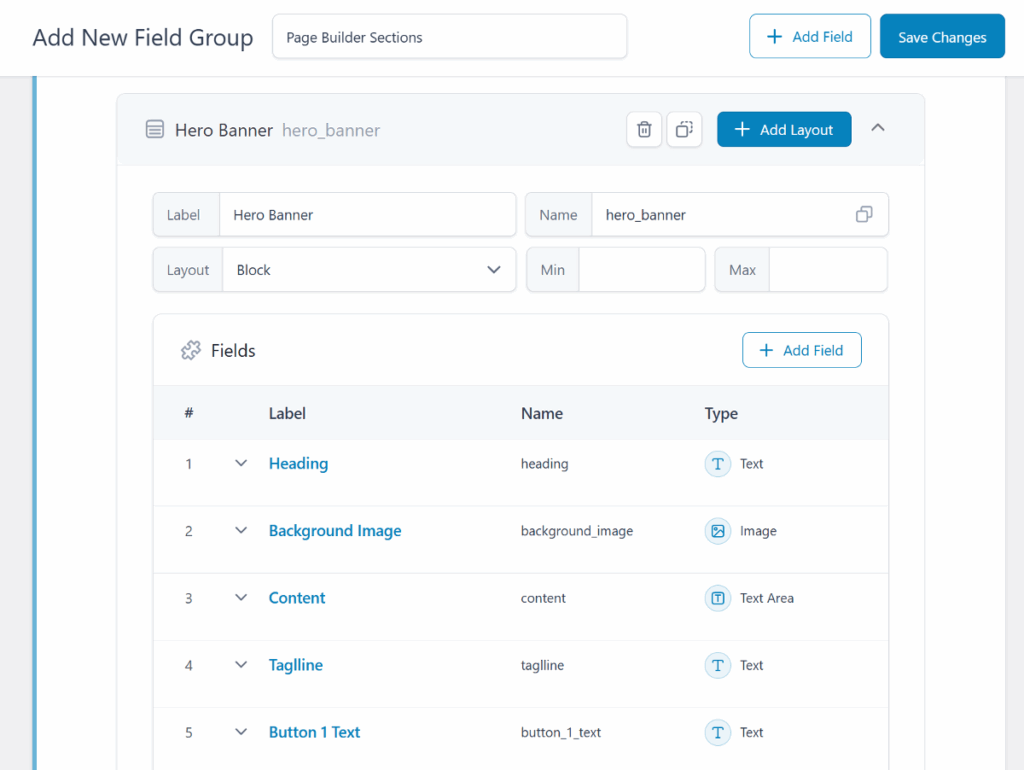
Inside the Flexible Content field, you can now start adding your reusable layouts. For this example, let’s create two simple layouts: a Hero Banner and a Call to Action.
To create your Hero Banner layout:
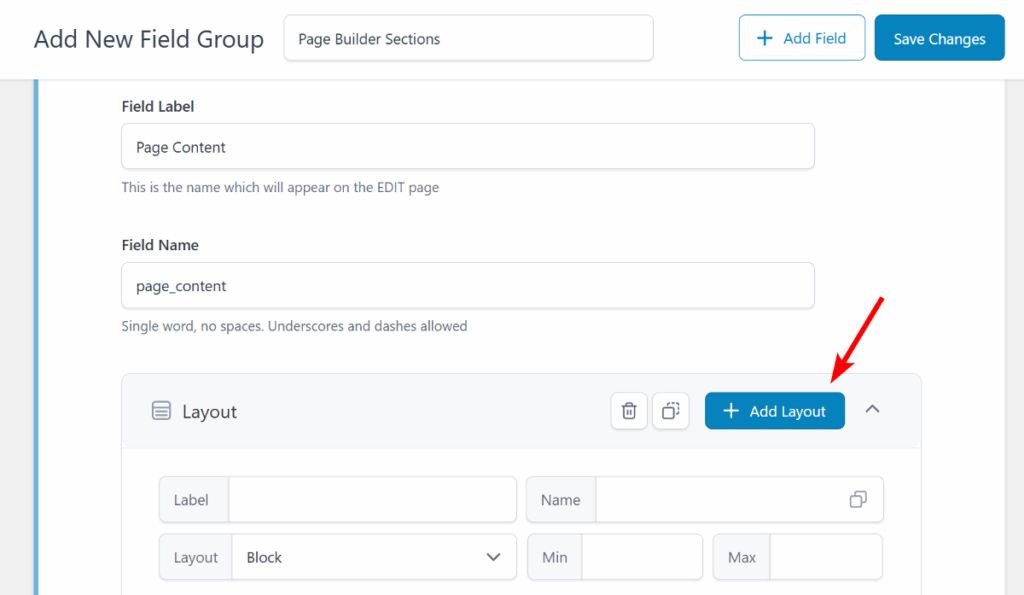
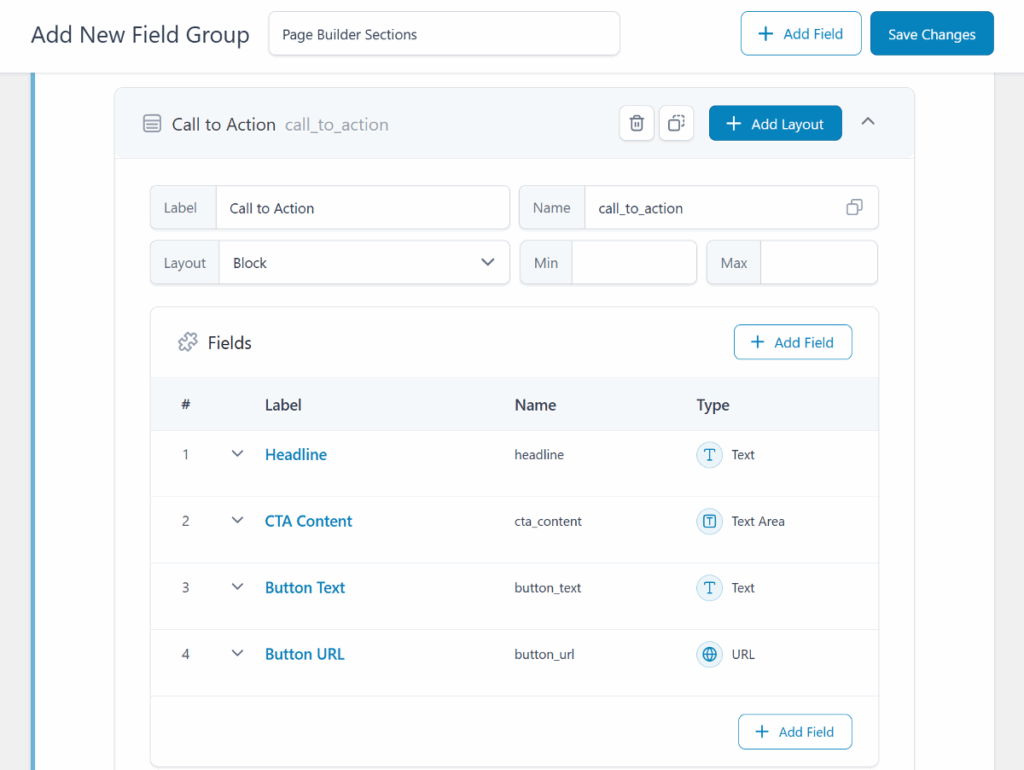
Similarly, to create your Call-to-Action layout:
Once you’re done, click Save Changes. You’ve now successfully created a Flexible Content field. If you edit any page, you’ll see your new block-based editor, ready for content.
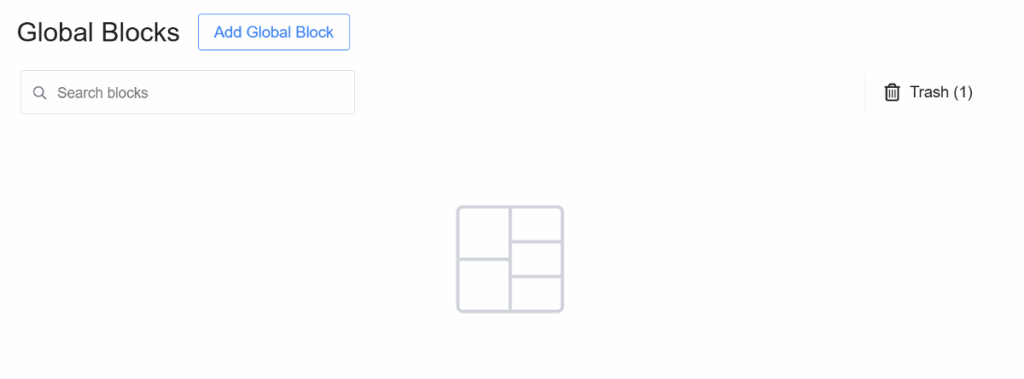
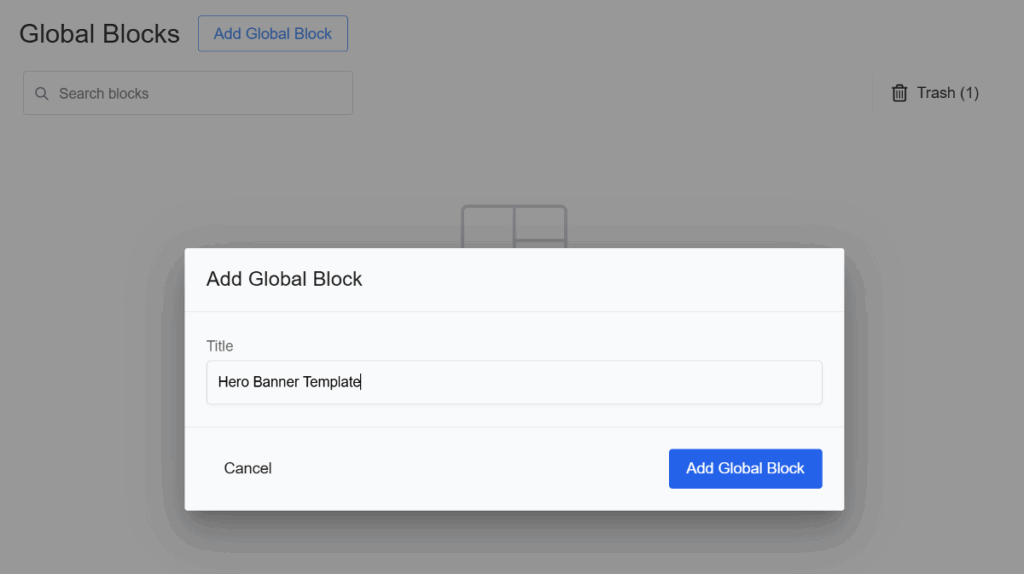
Now that we have our data structure in ACF, we need to create a visual design for each layout. In Breakdance, the best way to do this is by using Global Blocks. We will create a Global Block to act as a template for each of our ACF layouts.
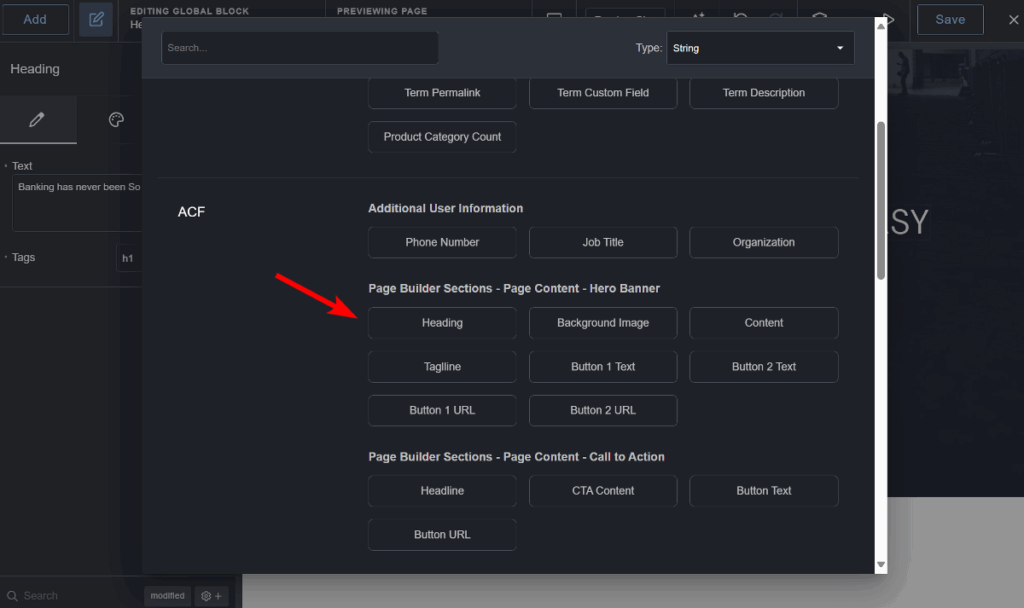
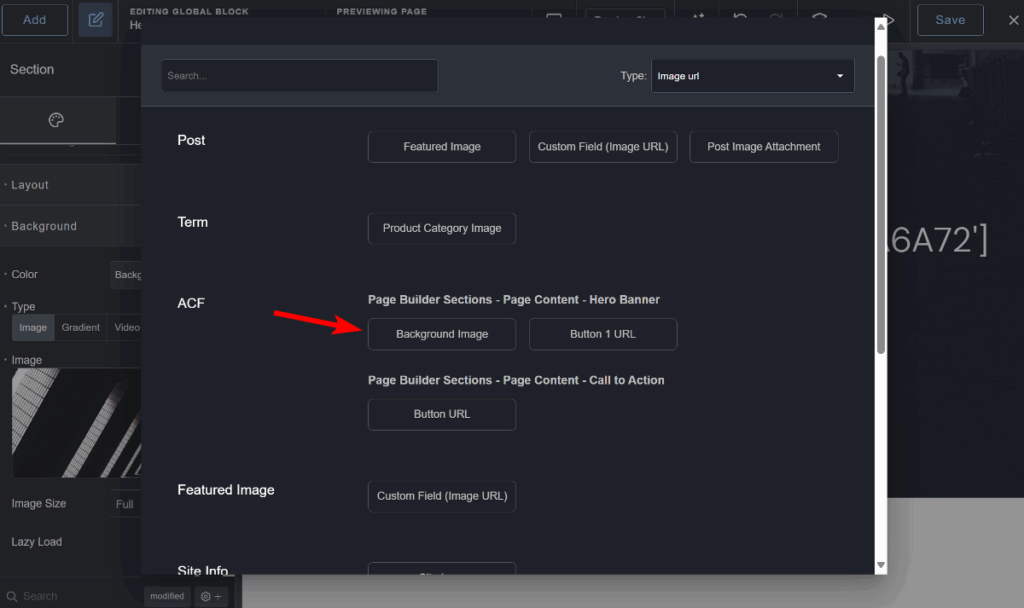
Now, let’s connect this design to our ACF fields.
Next, you can follow the same steps to create the Call to Action template and connect its fields.
After you save both Global Blocks, you have your visual components ready. The next and final step is to tell Breakdance to use these templates to display your content on the live page.
With our ACF fields created and our design templates ready, the final step is to tell Breakdance how to render everything on a live page. We’ll do this by creating a main template for our pages.
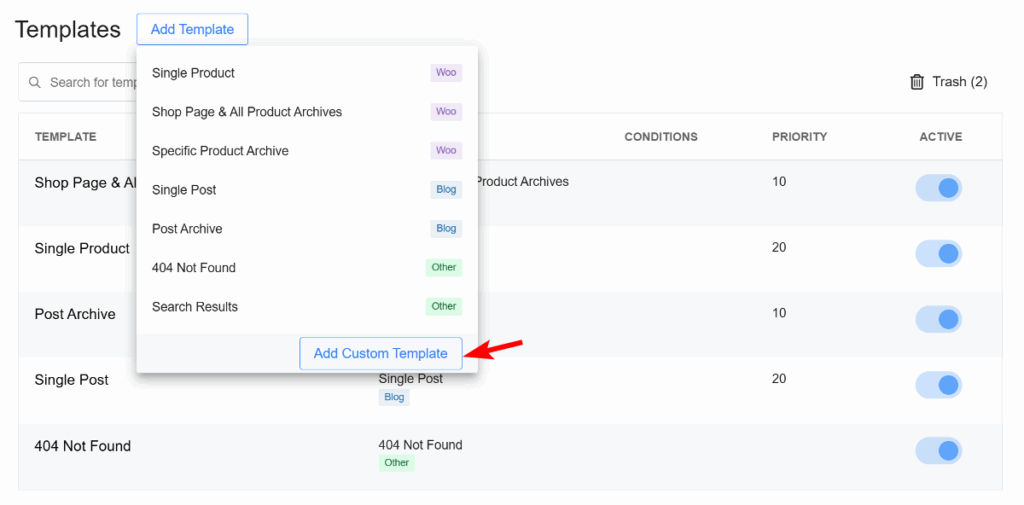
This is where we connect our data to our designs.
Once you have mapped each layout to its template, click Save.
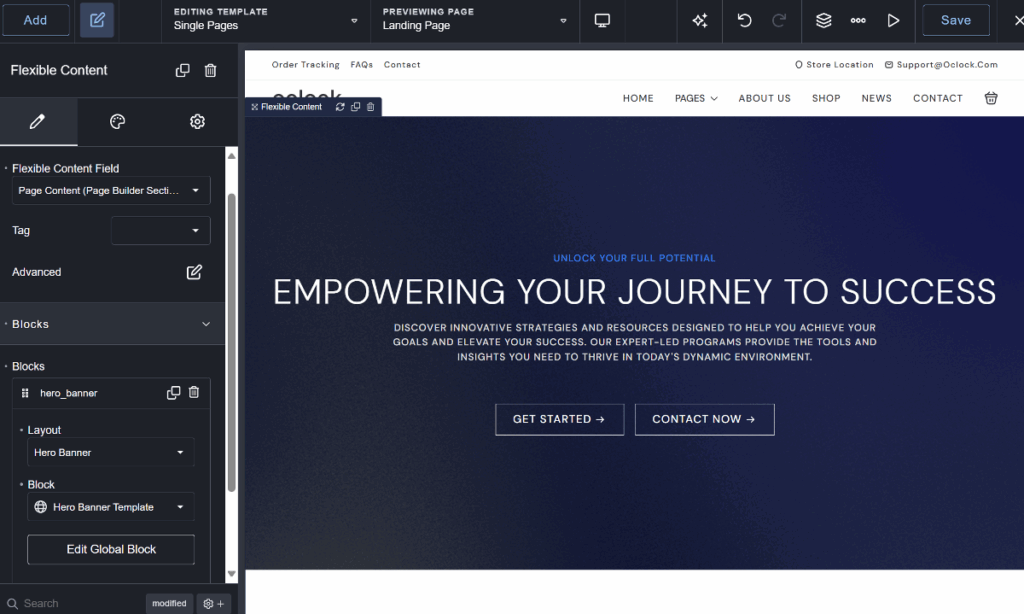
That’s it! Now, when you visit any WordPress page, Breakdance will automatically check for content in your Flexible Content field. It will loop through each layout a user has added and render it using the beautiful Global Block template you designed. This creates a seamless, dynamic system where your content editors can build pages, and the design always looks perfect.
1. What are the advantages of ACF?
The main advantage of ACF is control. It lets you add custom fields to any post, page, or custom post type. This simplifies content management for clients and creates a structured editing experience.
2. How to create ACF in WordPress?
To create an ACF field, go to ACF → Field Groups in your dashboard and click “Add New.” From there, you add your desired fields like Text or Image, and use the Location rules to assign the entire group to a specific post type, such as Pages or Posts.
3. How do I create a post type in ACF?
While ACF’s primary feature is adding fields, ACF Pro (6.1+) allows you to create your own custom post types. You can do this directly from the ACF → Post Types menu, which gives you a simple interface to create new content types like Services or Projects.
4. Where does ACF store data?
ACF stores its data in the standard WordPress meta tables. For fields on a page, the data is saved in the wp_postmeta table. Likewise, fields attached to users or categories are stored in wp_usermeta and wp_termmeta, respectively. This helps keep it organized within the WordPress database.
Get maximum flexibility with unlimited licensing and domain activations.
Get your money back within 60 days of purchase, no questions asked. It's risk-free!
We offer premium support to ensure the ultimate customer experience.
For a limited time, we're offering an unlimited site license for just $199.99/year. Buy now to lock in this price.